Quickstart
To follow this example from scratch, in Android Studio create a new "Empty Views Activity" and then select "Kotlin" as the language. Select "Groovy DSL" as the build configuration language.
-
If you have an older project, you'll need to add bintray Maven repositories to your project-level Gradle file (usually
<project>/<app-module>/build.gradle). AddmavenCentral()to where repositories are already defined in that file, something like this:
A newly-created app will likely already have mavenCentral() in a top-level settings.gradle file, and you won't need to add it.
-
Add the library as a dependency into your module Gradle file (usually
<project>/<app-module>/build.gradle). Replace<version>with the latest MapLibre Android version (e.g.:org.maplibre.gl:android-sdk:11.8.0): -
Sync your Android project with Gradle files.
-
Add a
MapViewto your layout XML file (usually<project>/<app-module>/src/main/res/layout/activity_main.xml). -
Initialize the
MapViewin yourMainActivityfile by following the example below. If modifying a newly-created "Empty Views Activity" example, it replaces all the Kotlin code after the "package" line.import androidx.appcompat.app.AppCompatActivity import android.os.Bundle import android.view.LayoutInflater import org.maplibre.android.MapLibre import org.maplibre.android.camera.CameraPosition import org.maplibre.android.geometry.LatLng import org.maplibre.android.maps.MapView class MainActivity : AppCompatActivity() { // Declare a variable for MapView private lateinit var mapView: MapView override fun onCreate(savedInstanceState: Bundle?) { super.onCreate(savedInstanceState) // Init MapLibre MapLibre.getInstance(this) // Init layout view val inflater = LayoutInflater.from(this) val rootView = inflater.inflate(R.layout.activity_main, null) setContentView(rootView) // Init the MapView mapView = rootView.findViewById(R.id.mapView) mapView.getMapAsync { map -> map.setStyle("https://demotiles.maplibre.org/style.json") map.cameraPosition = CameraPosition.Builder().target(LatLng(0.0,0.0)).zoom(1.0).build() } } override fun onStart() { super.onStart() mapView.onStart() } override fun onResume() { super.onResume() mapView.onResume() } override fun onPause() { super.onPause() mapView.onPause() } override fun onStop() { super.onStop() mapView.onStop() } override fun onLowMemory() { super.onLowMemory() mapView.onLowMemory() } override fun onDestroy() { super.onDestroy() mapView.onDestroy() } override fun onSaveInstanceState(outState: Bundle) { super.onSaveInstanceState(outState) mapView.onSaveInstanceState(outState) } } -
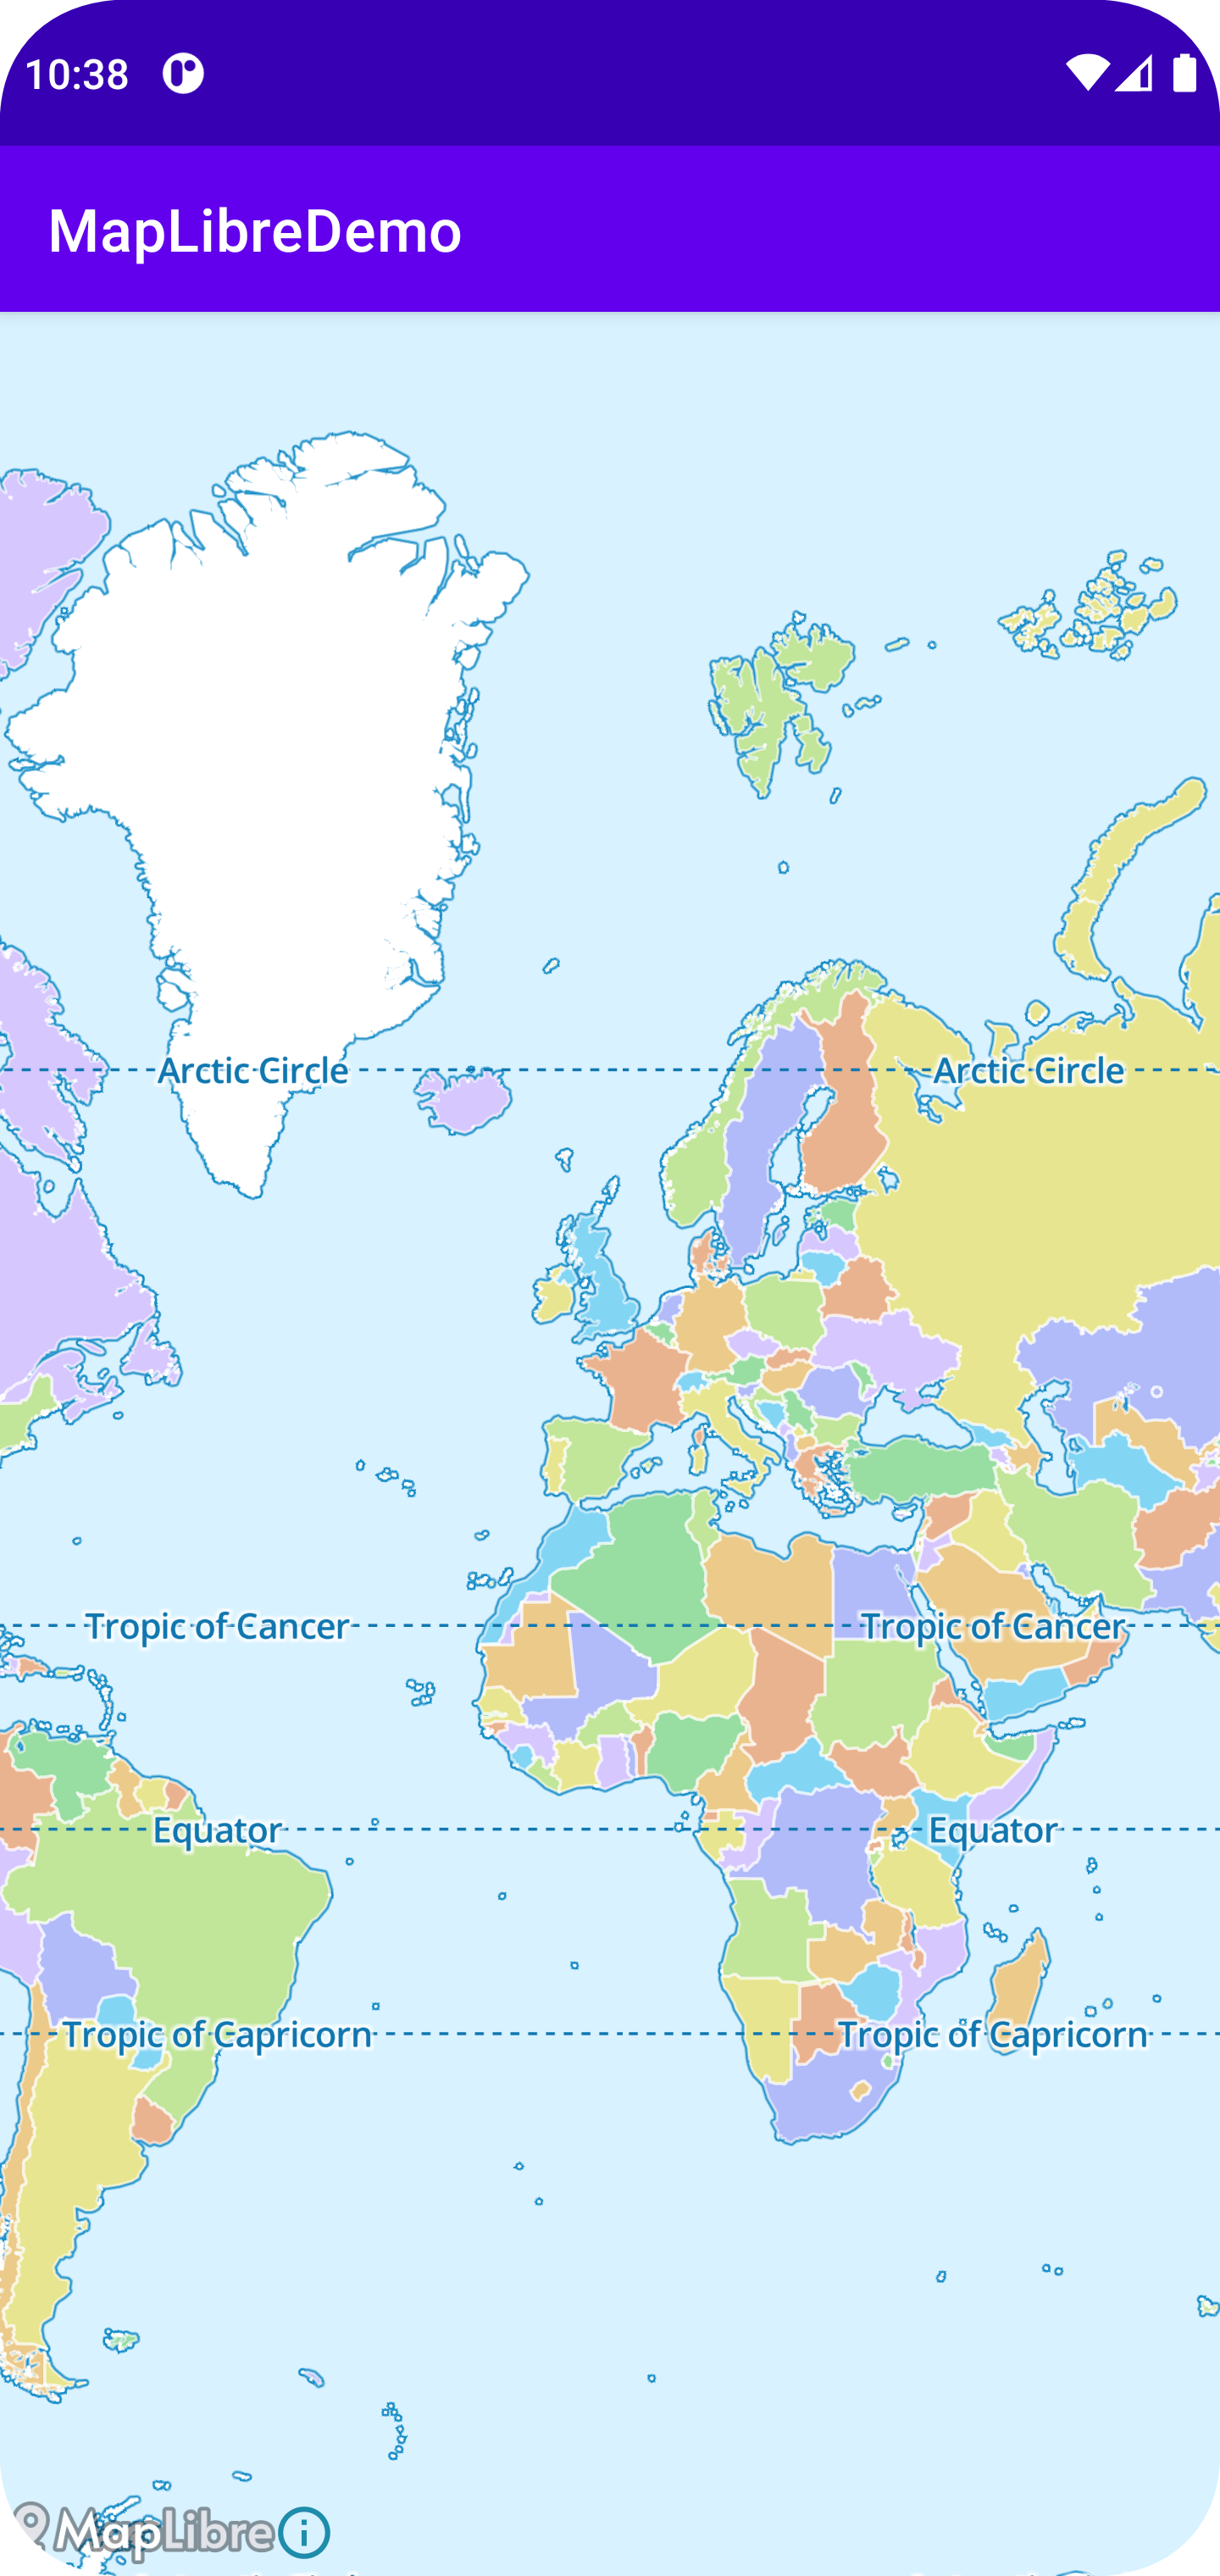
Build and run the app. If you run the app successfully, a map will be displayed as seen in the screenshot below.